Installationsanleitungen und Hinweise
Wähle dein Modell
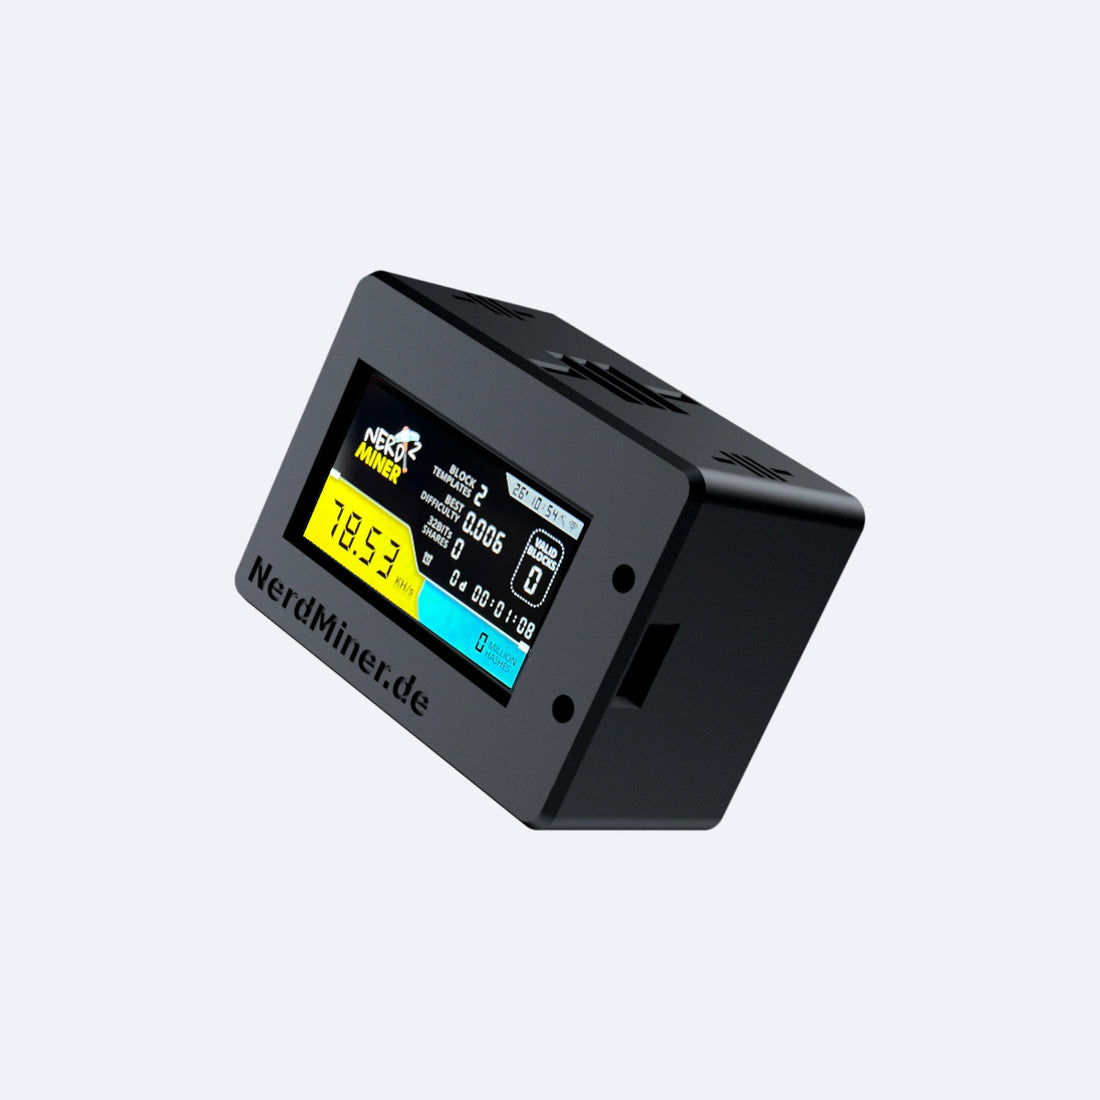
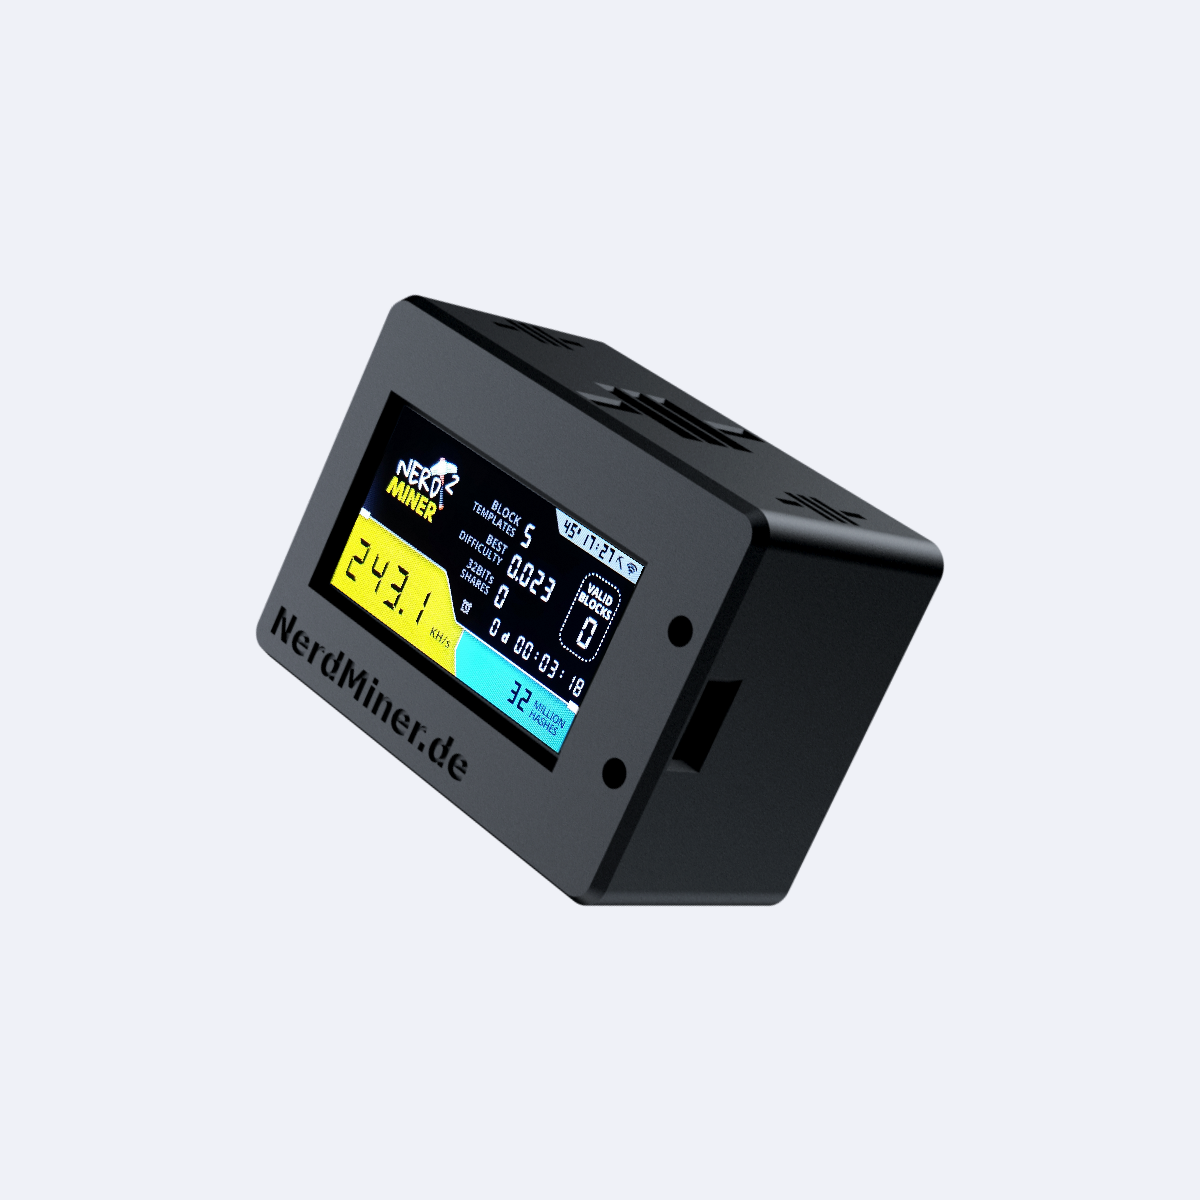
Nerdminer Classic
Installationshinweis
Installationshinweis
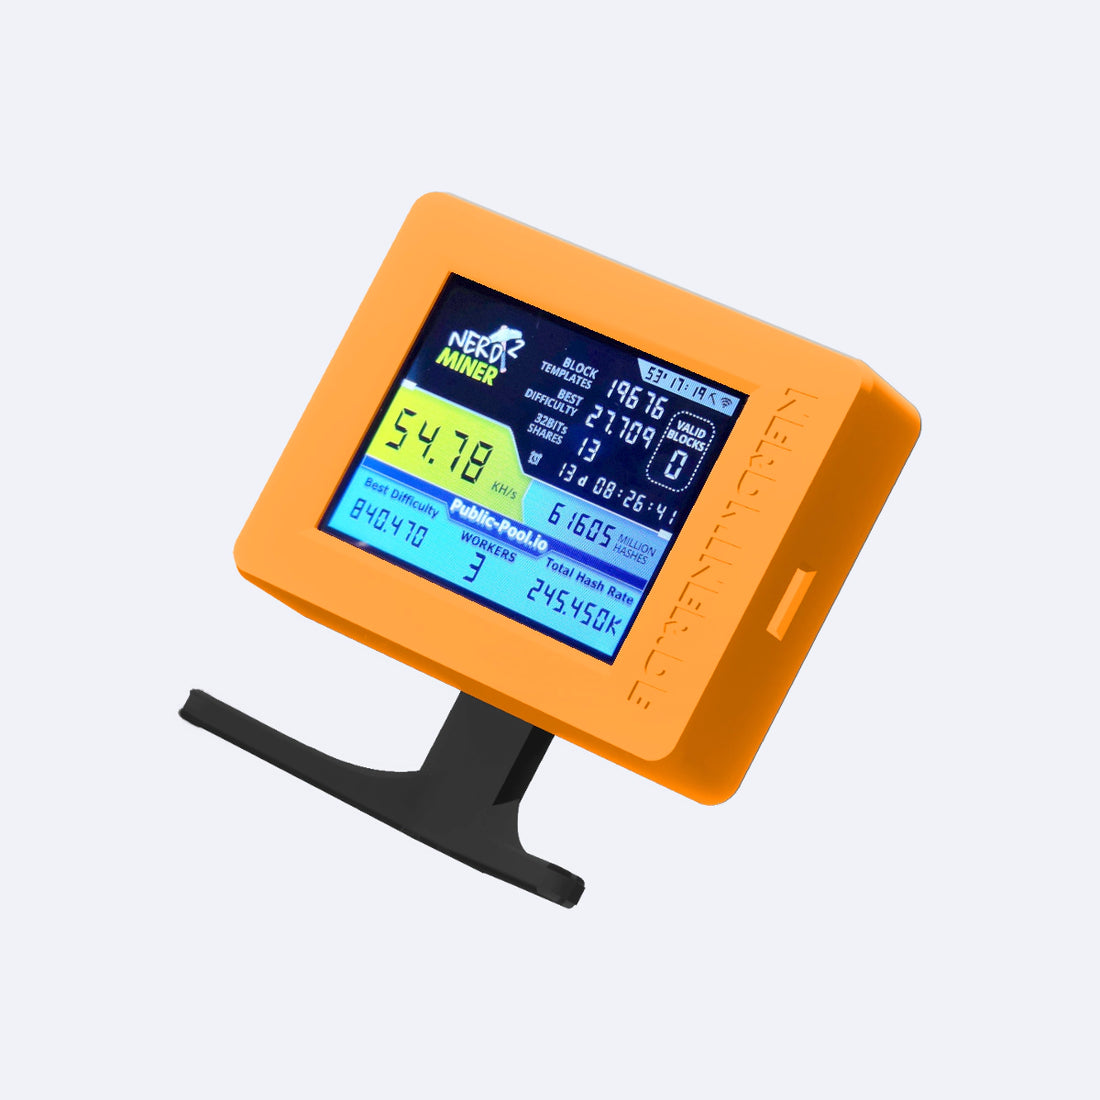
2.8" Nerdminer
Installationshinweis
Installationshinweis
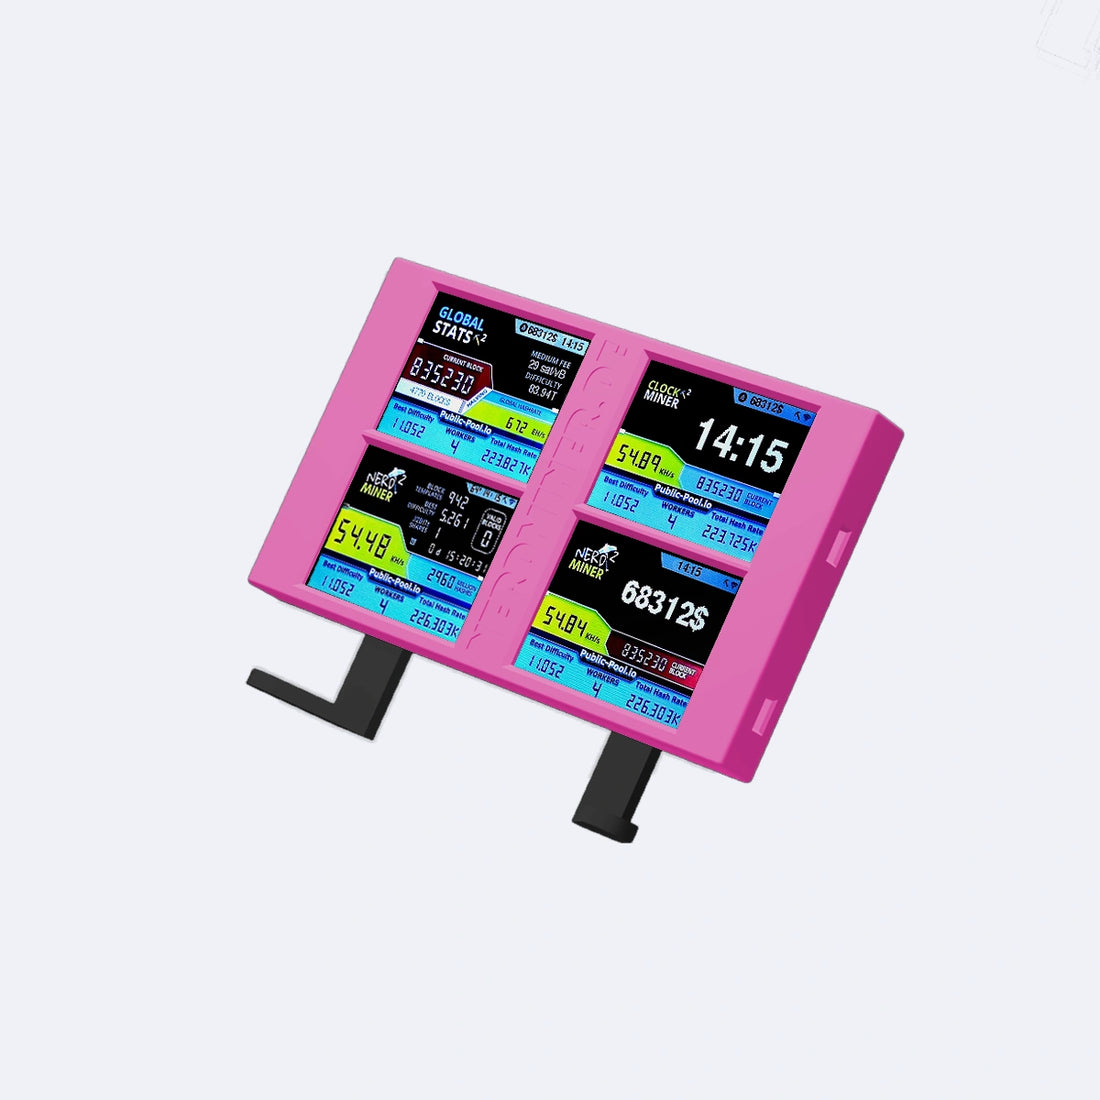
GIGA Nerdminer
Installationshinweis
Installationshinweis
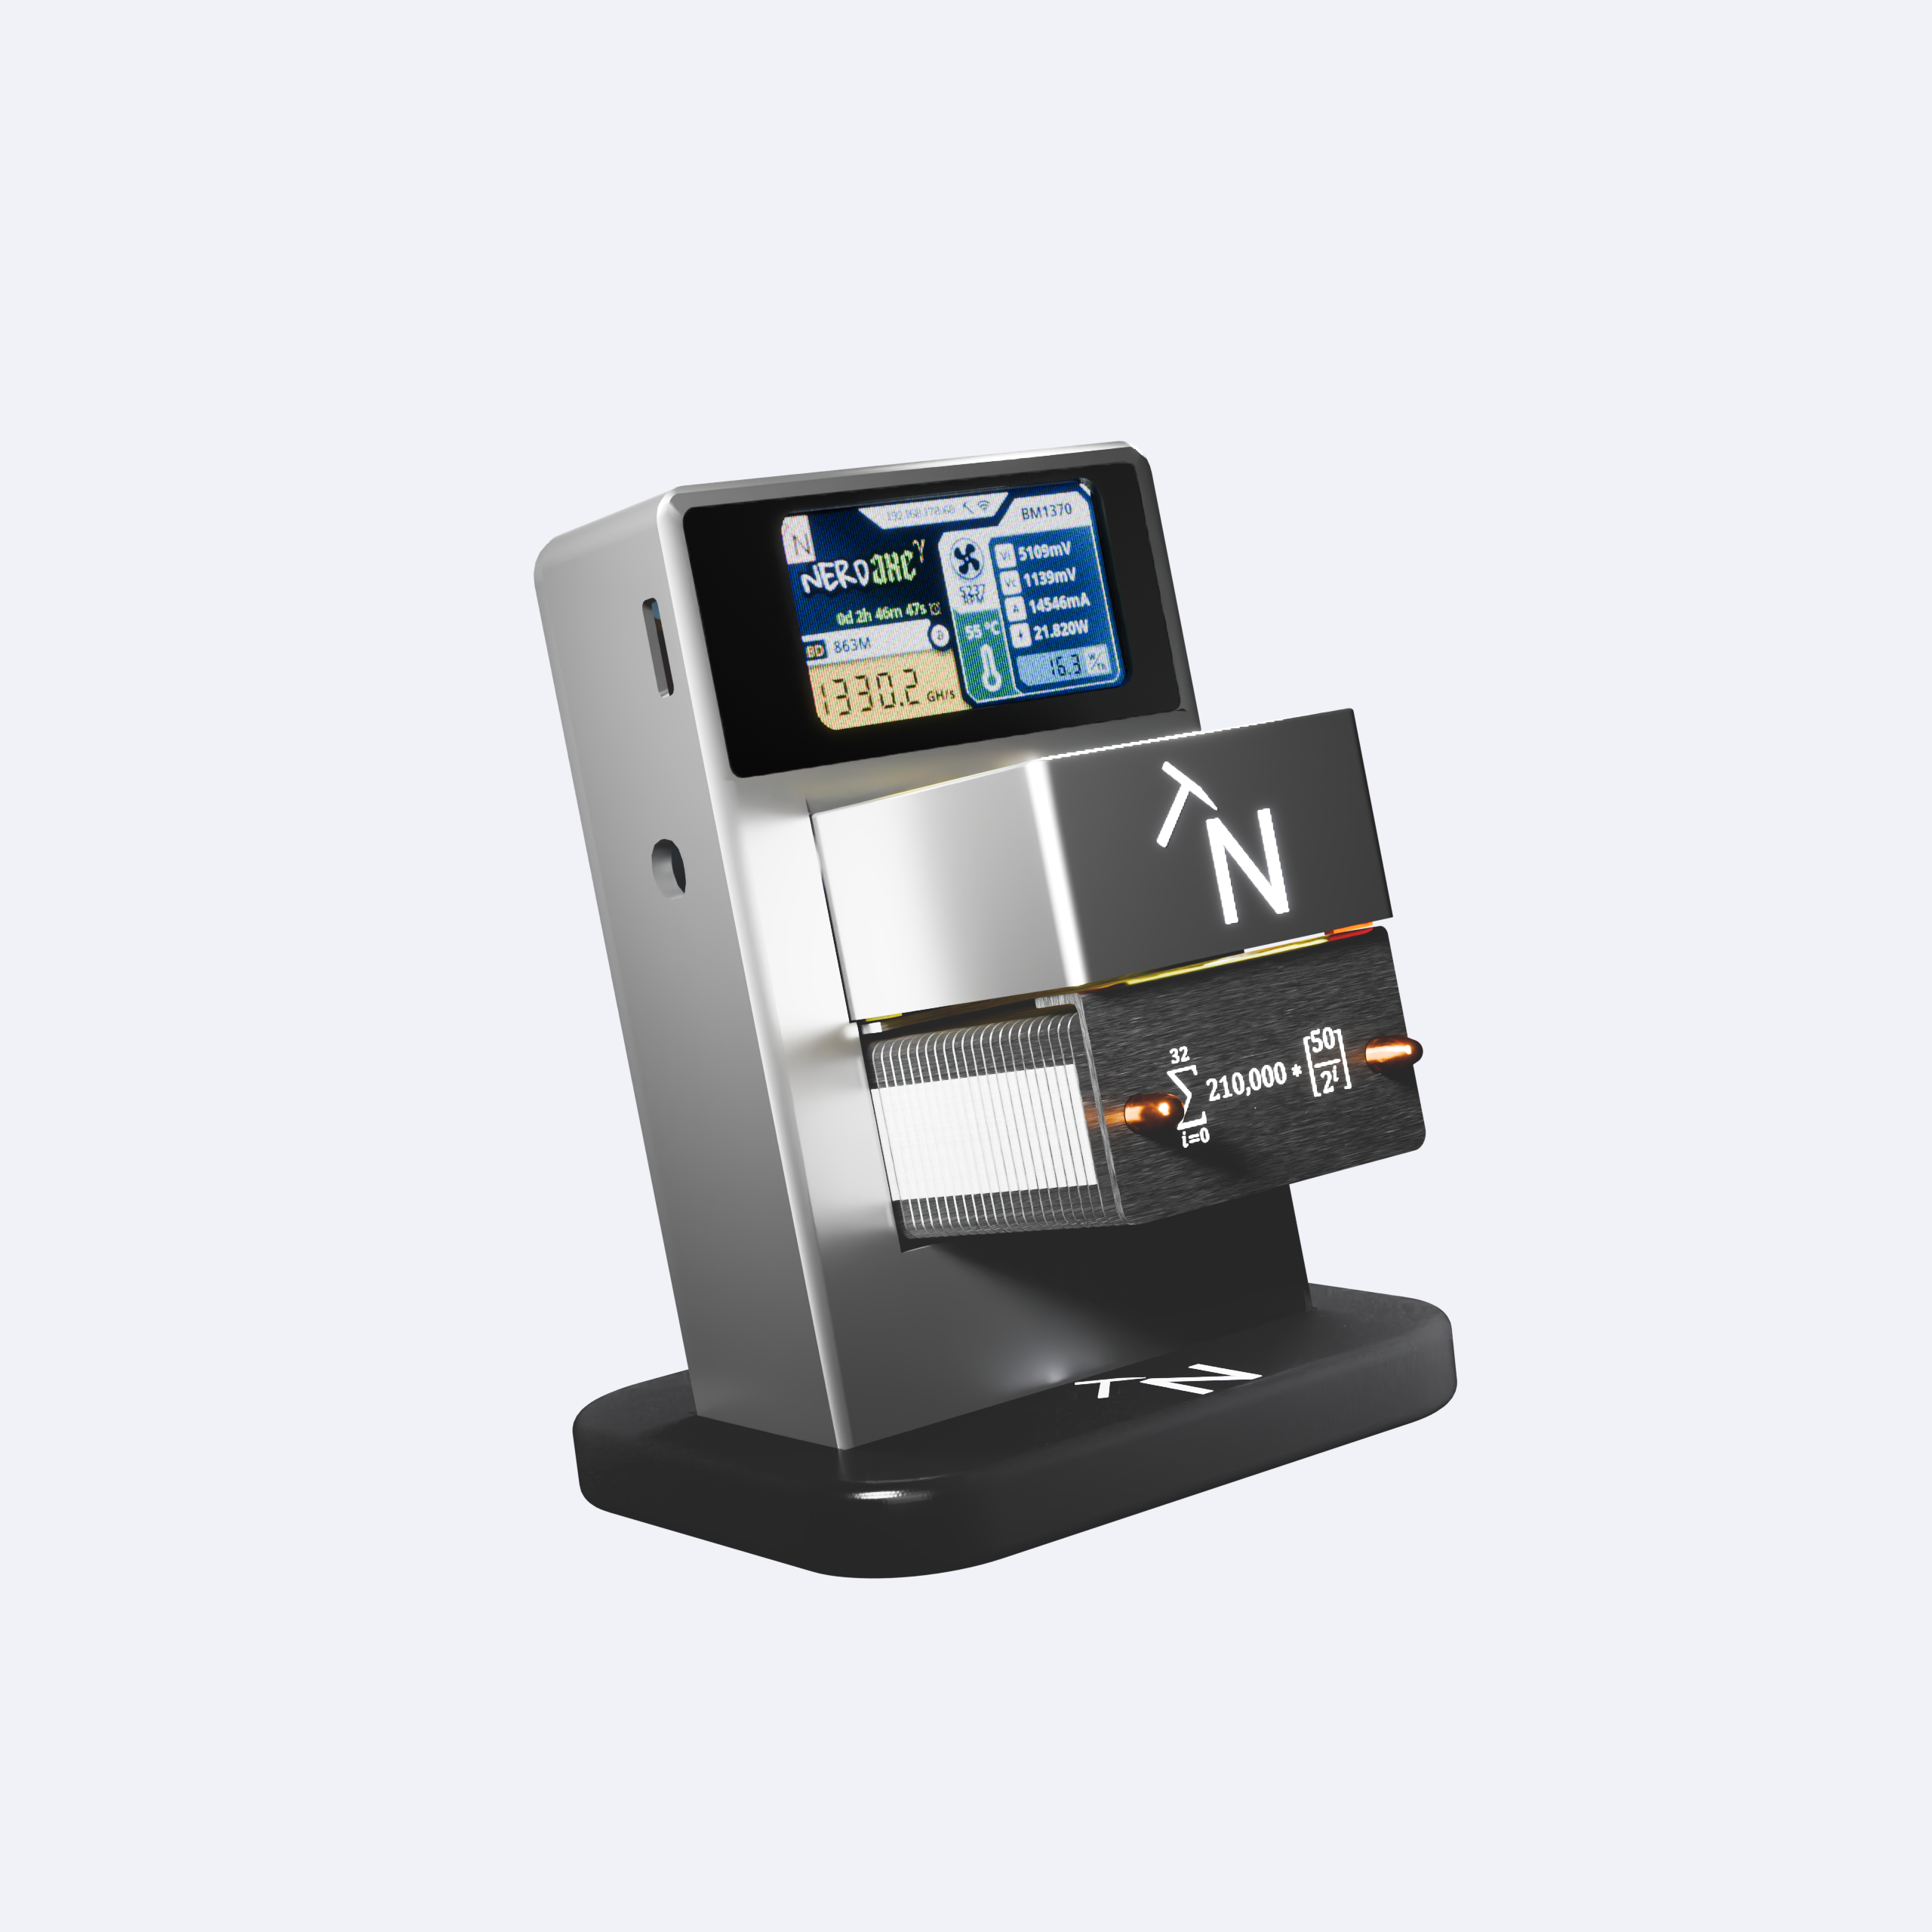
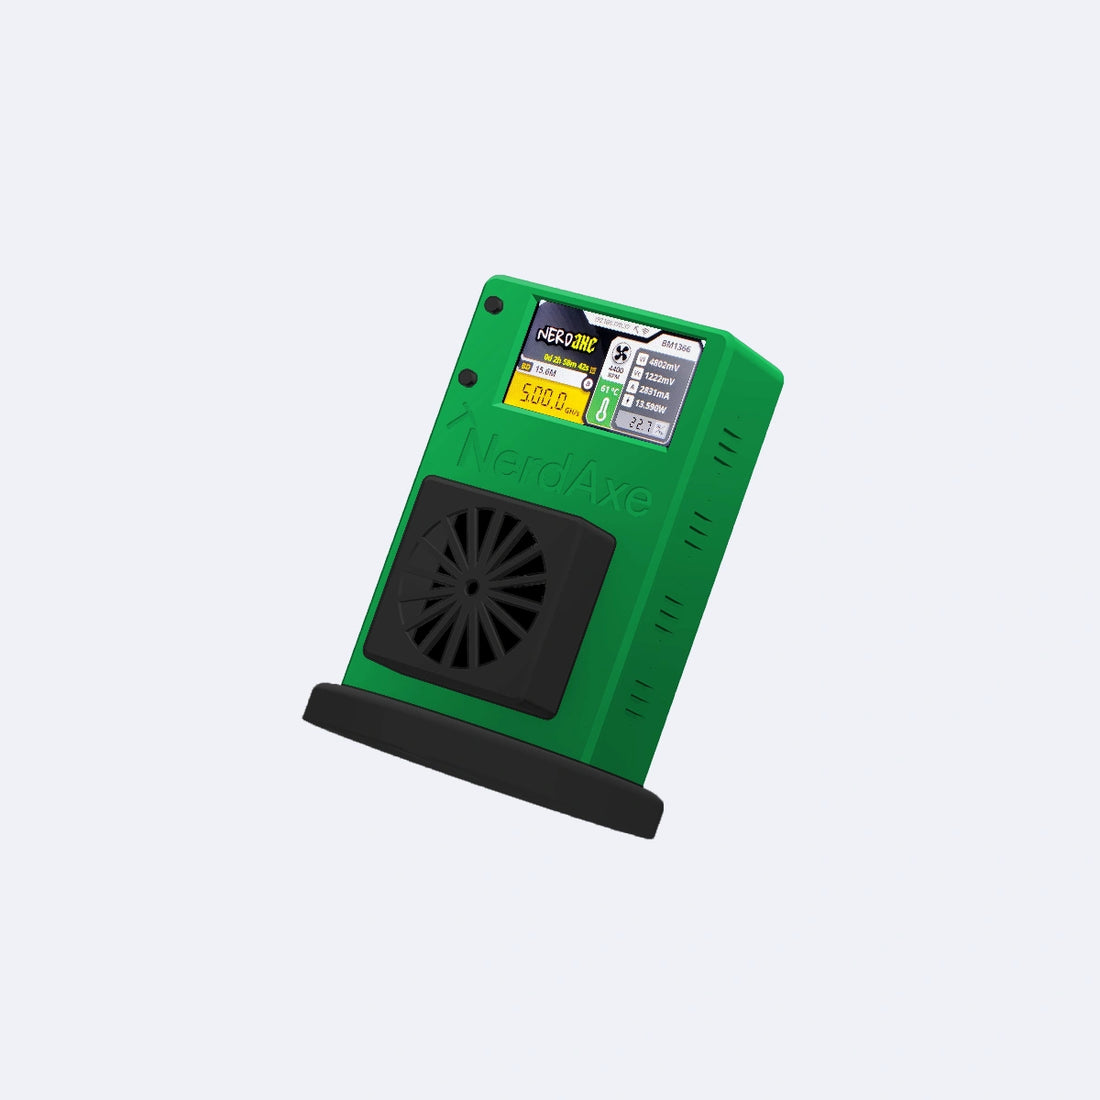
NerdAxe Gamma
Solomining
Solomining
Satoshimining
Satoshimining
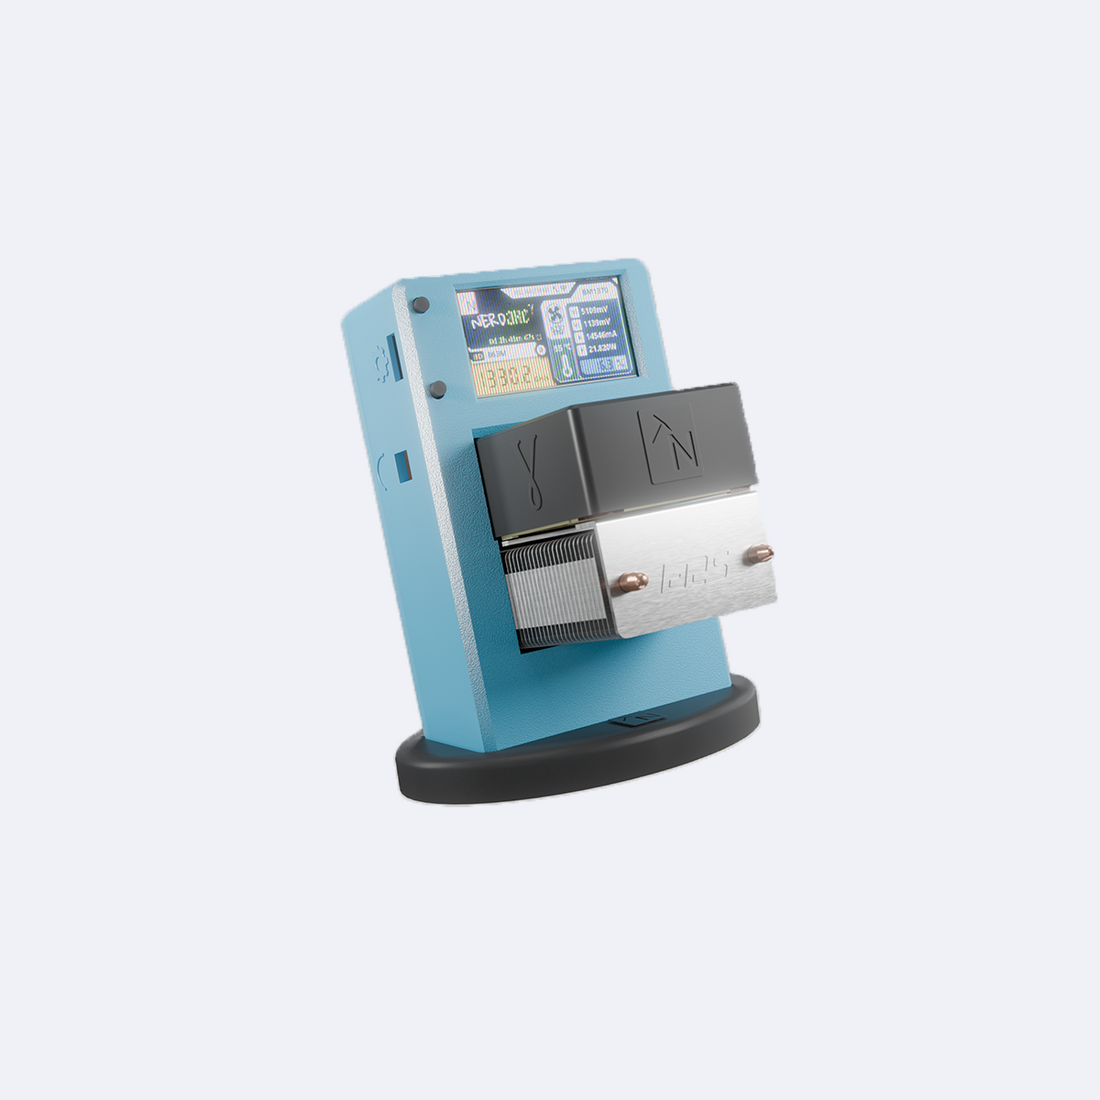
NerdAxe Ultra
Solomining
Solomining
Satoshimining
Satoshimining
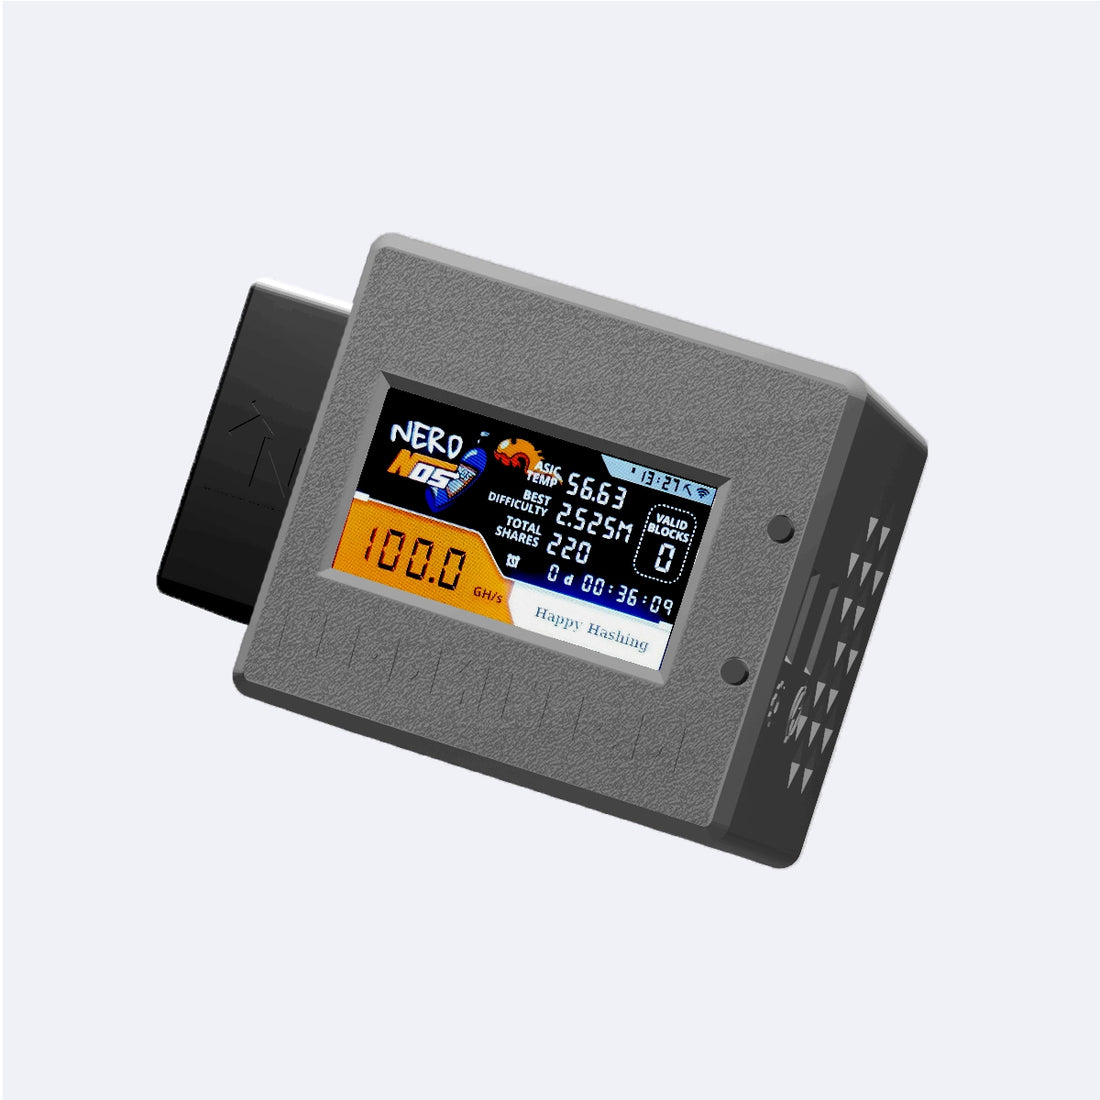
NerdNOS
Solomining
Solomining
Fullnode
Installationshinweis
Installationshinweis

Bitaxe
Solomining
Solomining
Weitere Hinweise

Entsorgung
Entsorgen Sie es umweltgerecht und bringen Sie es zu einer geeigneten Sammelstelle. Gemeinsam tragen wir dazu bei, unsere Ressourcen zu schonen und die Umwelt zu schützen. Vielen Dank für Ihre verantwortungsvolle Handlung!

CE-Kennzeichnung
Mit dem CE Zeichen bringen wir zum Ausdruck, dass wir alle relevanten Vorschriften und Normen einhalten.