NerdNOS Solo Mining Installation Guide
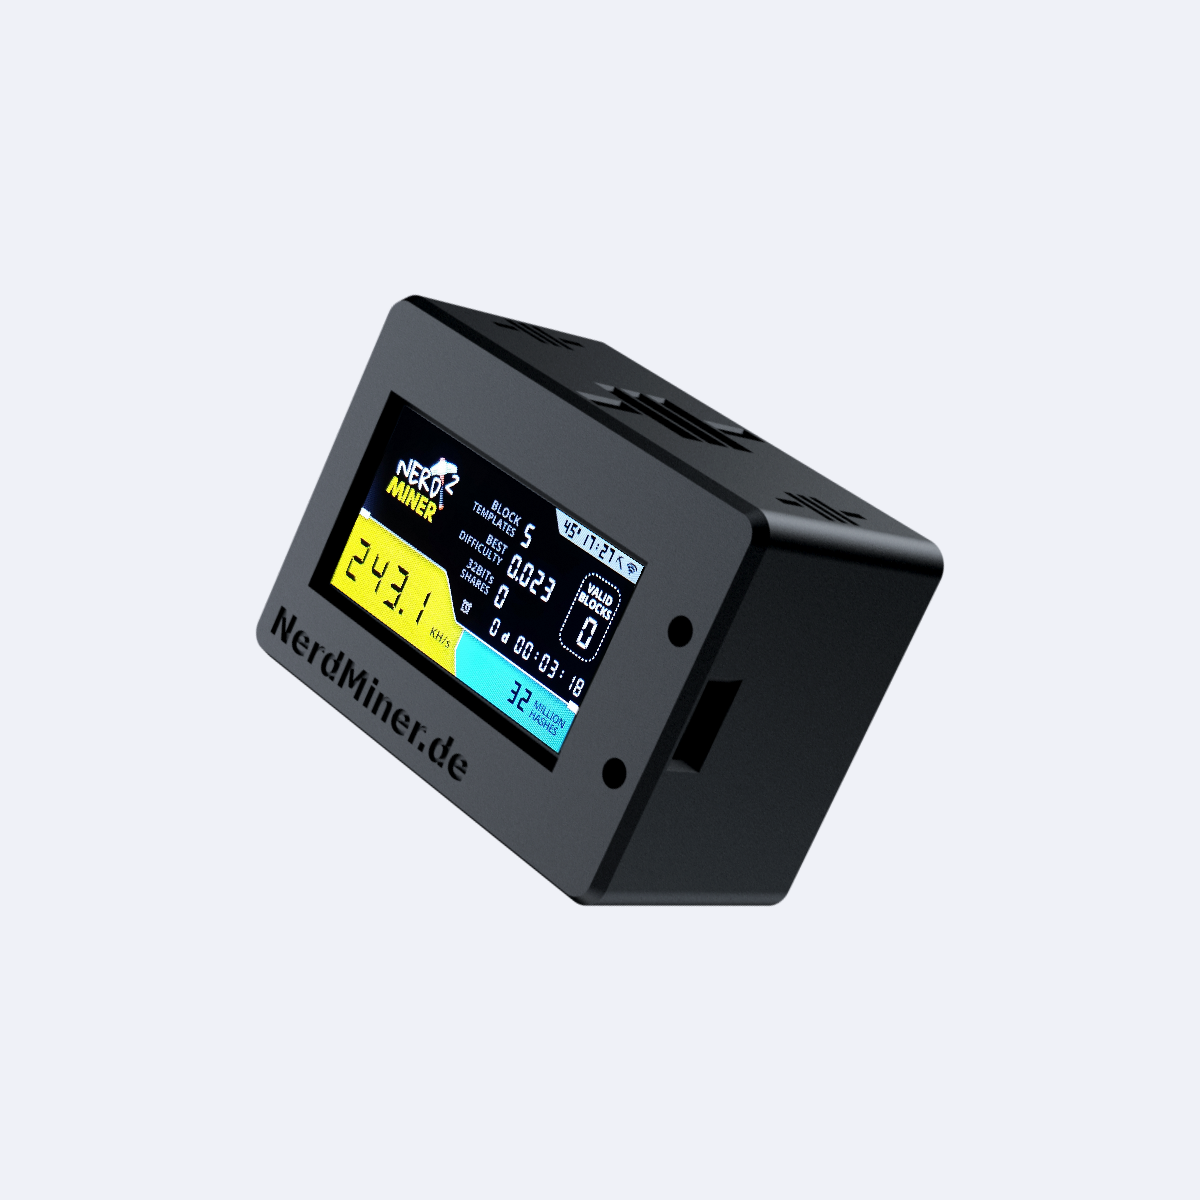
1. Connect the NerdNOS to the port marked "lightning" and to a USB port (min. 2A). After the device is connected, wait a short time before the WiFi message appears on the display. Scan the QR code or open the WiFi settings on your smartphone/PC and select "NerdMinerAP".
To establish the connection, use the password “MineYourCoins” shown on the display.


2. After the NerdNOS is connected, the “WiFiManager” will be displayed on the smartphone/PC. Now select the “Configure WiFi” button

3. Select your Wi-Fi connection and enter your Wi-Fi password (if the available Wi-Fi is not displayed automatically, press the refresh button).
In “Your BTC address” enter an on-chain Bitcoin address from your wallet (IMPORTANT: delete “yourBtcAddress” from the line before inserting) . Your Bitcoins will be paid out to this BTC address immediately when a block is found. Preferably you should use a Bitcoin address from a hardware wallet!
If you don't have a Bitcoin wallet yet but still want to use your NerdNOS right away, you should install a wallet (e.g. www.electrum.org) before setting up the Nerdminer and copy a Bitcoin address from it.
In the “TimeZone fromUTC” field, enter “2” for Central European Summer Time or “1” for Central European Winter Time. Finally, save your entries by clicking on the “Save” button.

4. Key assignment
Button 1:
short press to switch to the next display;
without power supply, hold down, plug in power to change existing entries;
Press and hold for 5 seconds to reset all saved entries
button 2:
short press to turn the display on or off (if the display is off, the device continues mining)

A notice:
Enter your BTC address on the pool homepage https://pool.nerdminer.de to check your miner connection.