USB Nerdminer Installation Guide
1. Connect the NerdMiner to a USB port using the connection cable. Once the device is connected, wait a short time before the WiFi message appears on the display. Open the WiFi settings on your smartphone/PC and select the “ NerdMinerAP ”.
Use the password “ MineYourCoins ” to connect .


2. After the NerdMiner is connected, the “WiFiManager” will be displayed on the smartphone/PC. Now select the “Configure WiFi” button

3. Select your Wi-Fi connection and enter your Wi-Fi password (if the available Wi-Fi is not displayed automatically, press the refresh button).
In the “Your BTC address” field, enter an on-chain Bitcoin address from your wallet (IMPORTANT: delete “yourBtcAddress” from the line before inserting) .
Your Bitcoins will be paid out to this BTC address immediately when a block is found. Preferably, you should use a Bitcoin address from a hardware wallet!
If you don't have a Bitcoin wallet yet but still want to use your Nerdminer right away, you should install a wallet (e.g. www.electrum.org) before setting up the Nerdminer and copy a Bitcoin address from it. Alternatively, you can also use a paper wallet (available in our shop).
In the “TimeZone fromUTC” field, enter “2” for Central European Summer Time or “1” for Central European Winter Time. Finally, save your entries by clicking the “Save” button.
After the Nerdminer has adopted the settings, it should now automatically connect to the WLAN and start mining.


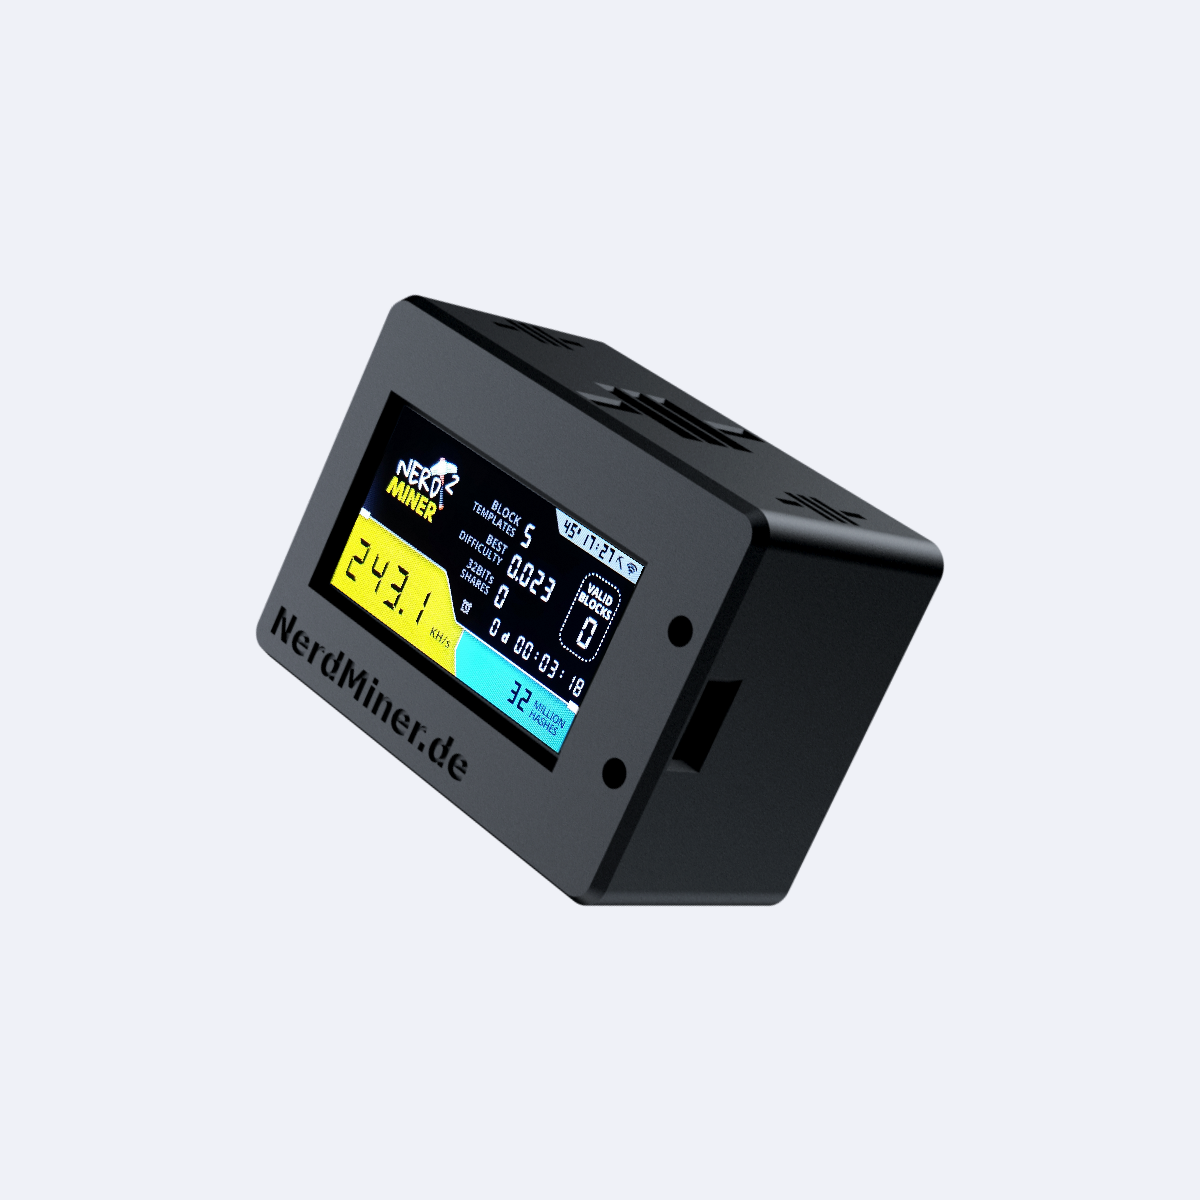
4. Functions
Press twice briefly to rotate the display;
Press and hold for 5 seconds to reset the saved configurations

A notice:
Check on the homepage https://web.public-pool.io/ by entering your Bitcoin address whether your Nerdminer is connected to the pool.
Have fun with your NerdMiner! Greetings Julius and Timo