NerdAxe Installation Guide - Solo Mining
1.
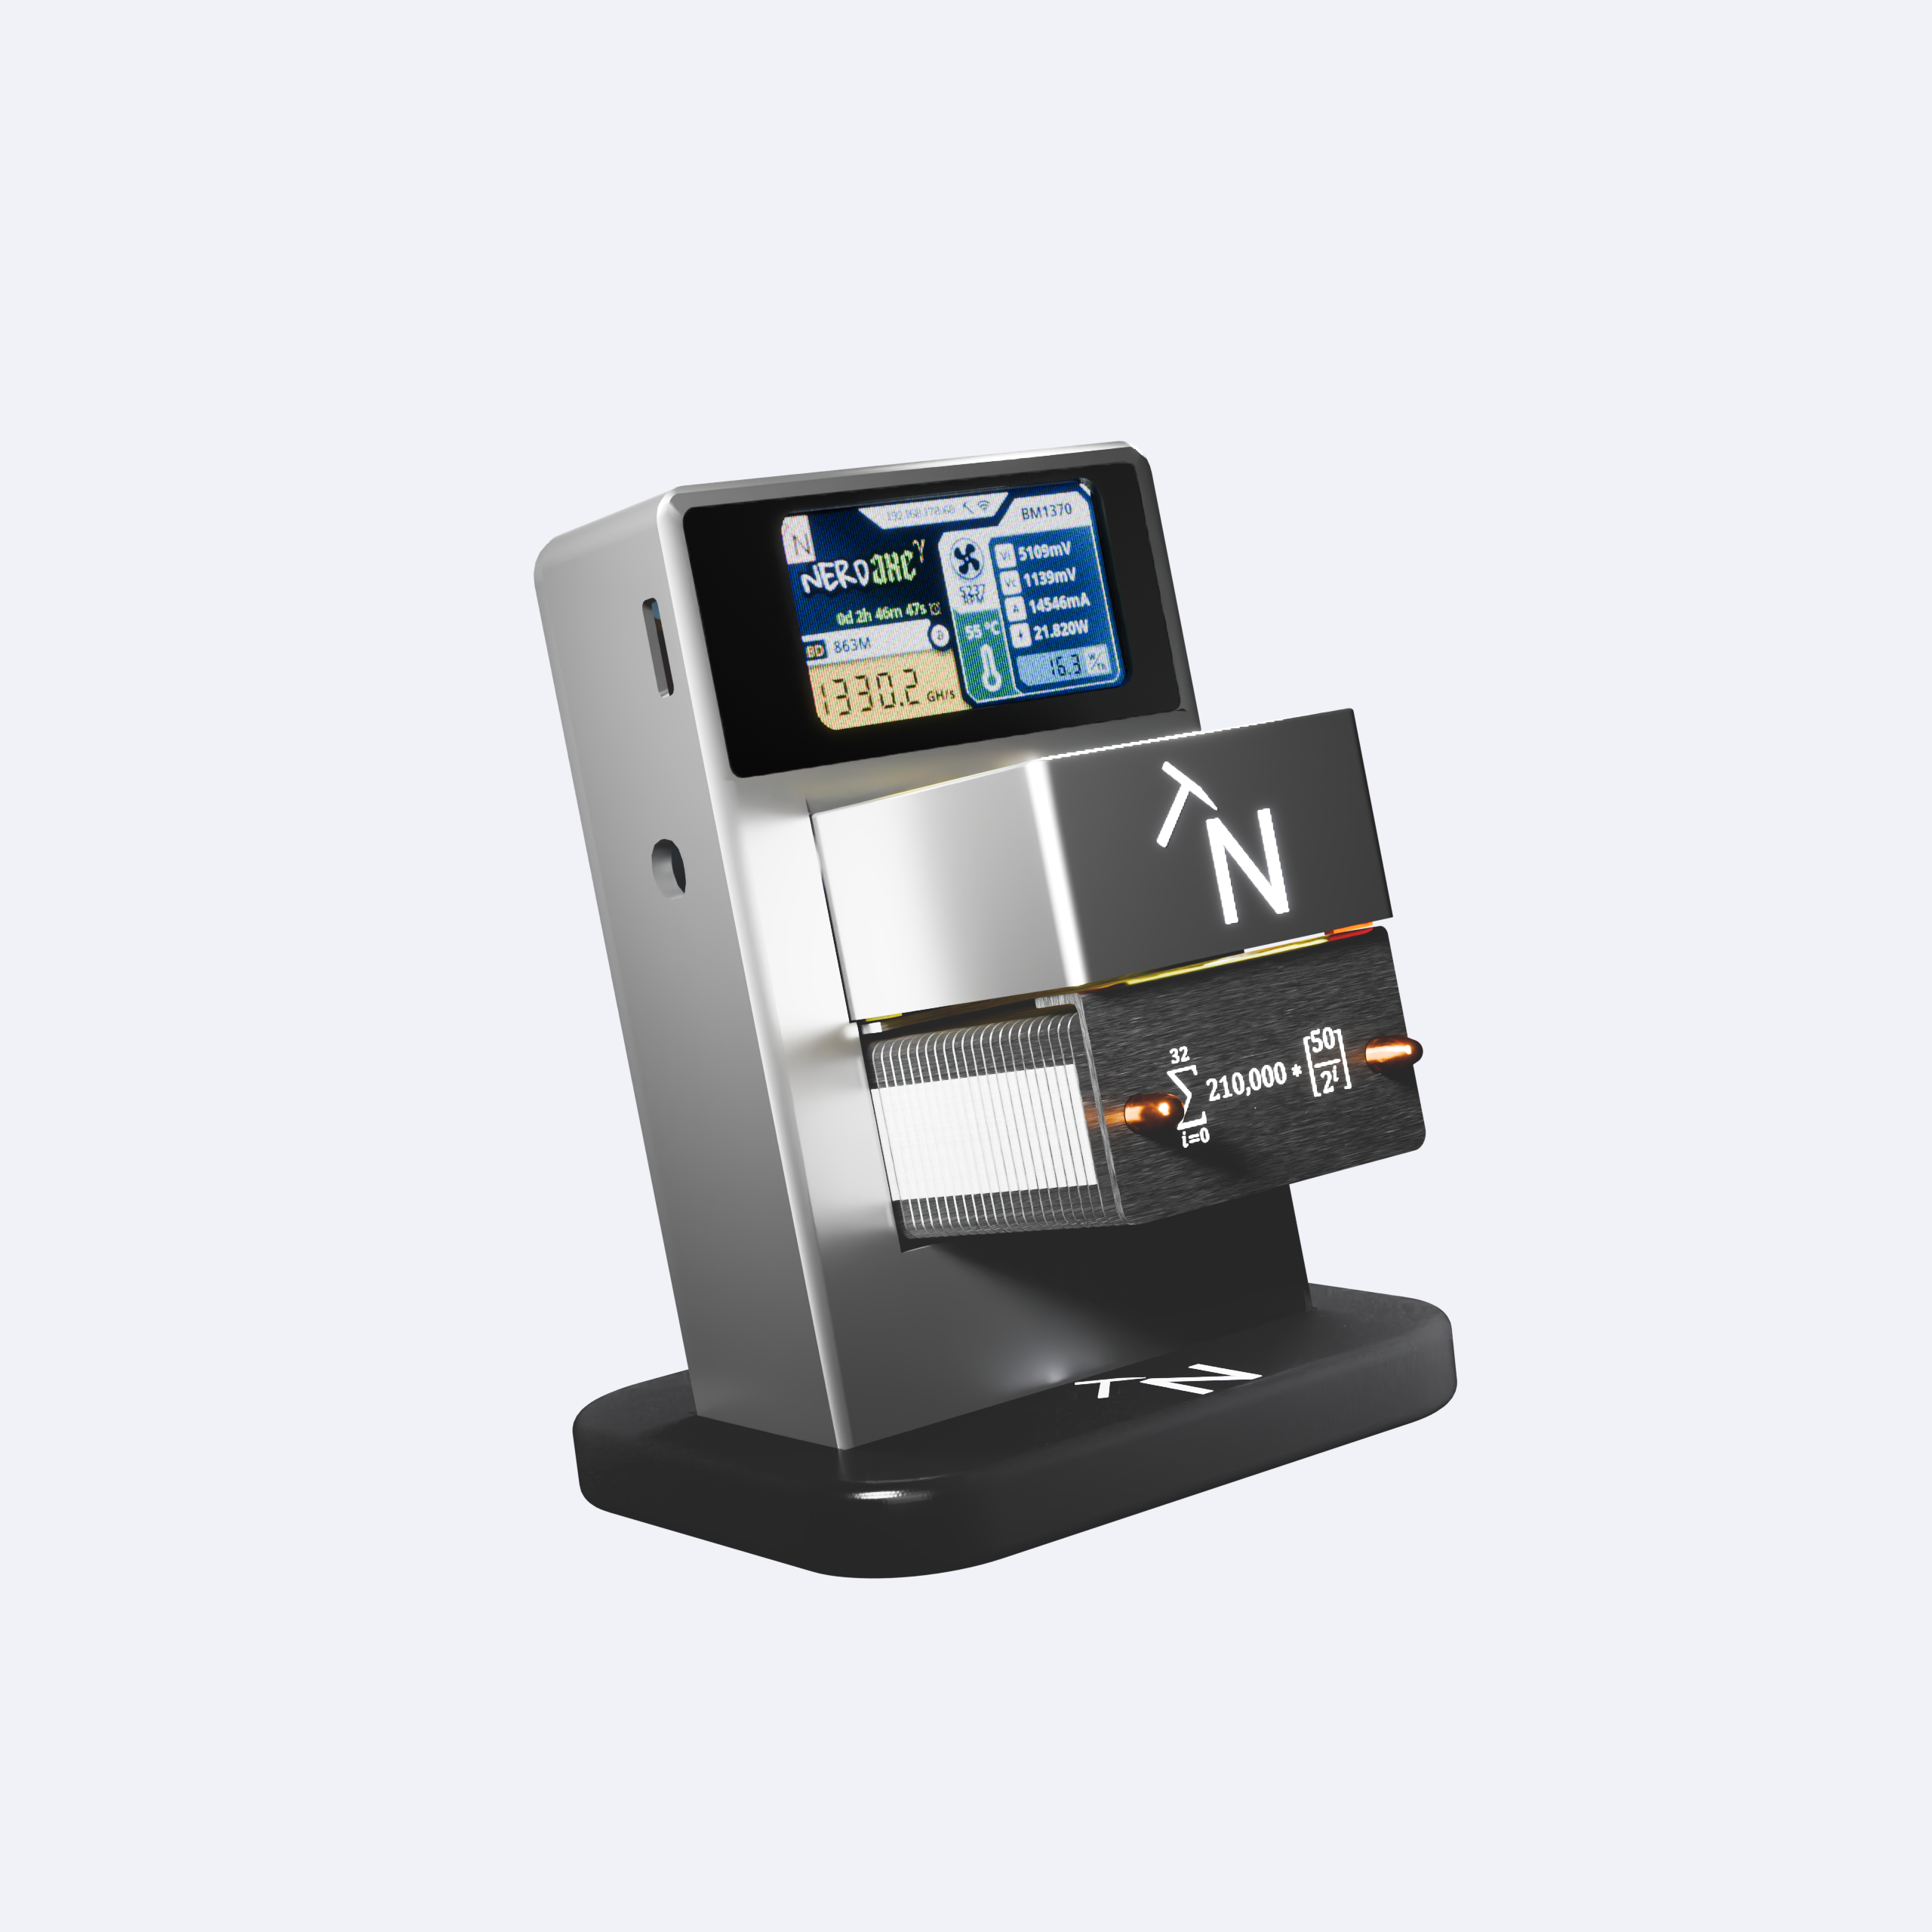
Connect the NerdAxe to the included power adapter.
After the device is connected, the WiFi message will appear on the display after a short wait.
Open the WLAN settings on your smartphone/PC and select “Nerdaxe_B195” .


2.
After the NerdAxe is connected, you will be directed to the main page of the
User interface (dashboard).
Now open the settings via the selection menu.


3.
Now enter your exact WLAN SSID, WLAN password and Bitcoin address here.
Delete all characters from the line before entering!
Do not change any other settings! By default, the NerdAxe is set to the lottery mining pool
(www.public-pool.io) is discontinued.
Your Bitcoins will be paid out to your specified BTC address immediately when a block is found.
Preferably you should use a Bitcoin address from a hardware wallet!
If you don’t have a Bitcoin wallet yet, but still want to use your NerdAxe right away, you should
Before setting up the NerdAxe, install a wallet (e.g. www.electrum.org) and get a Bitcoin
Copy the address. Alternatively, you can use a paper wallet (available in our shop).

4.
Finally, save your entries by clicking on the “Save” button and restart the NerdAxe by clicking on “Restart”.


After the NerdAxe has applied the settings, it connects to your WLAN and starts
after a few seconds with mining 😊

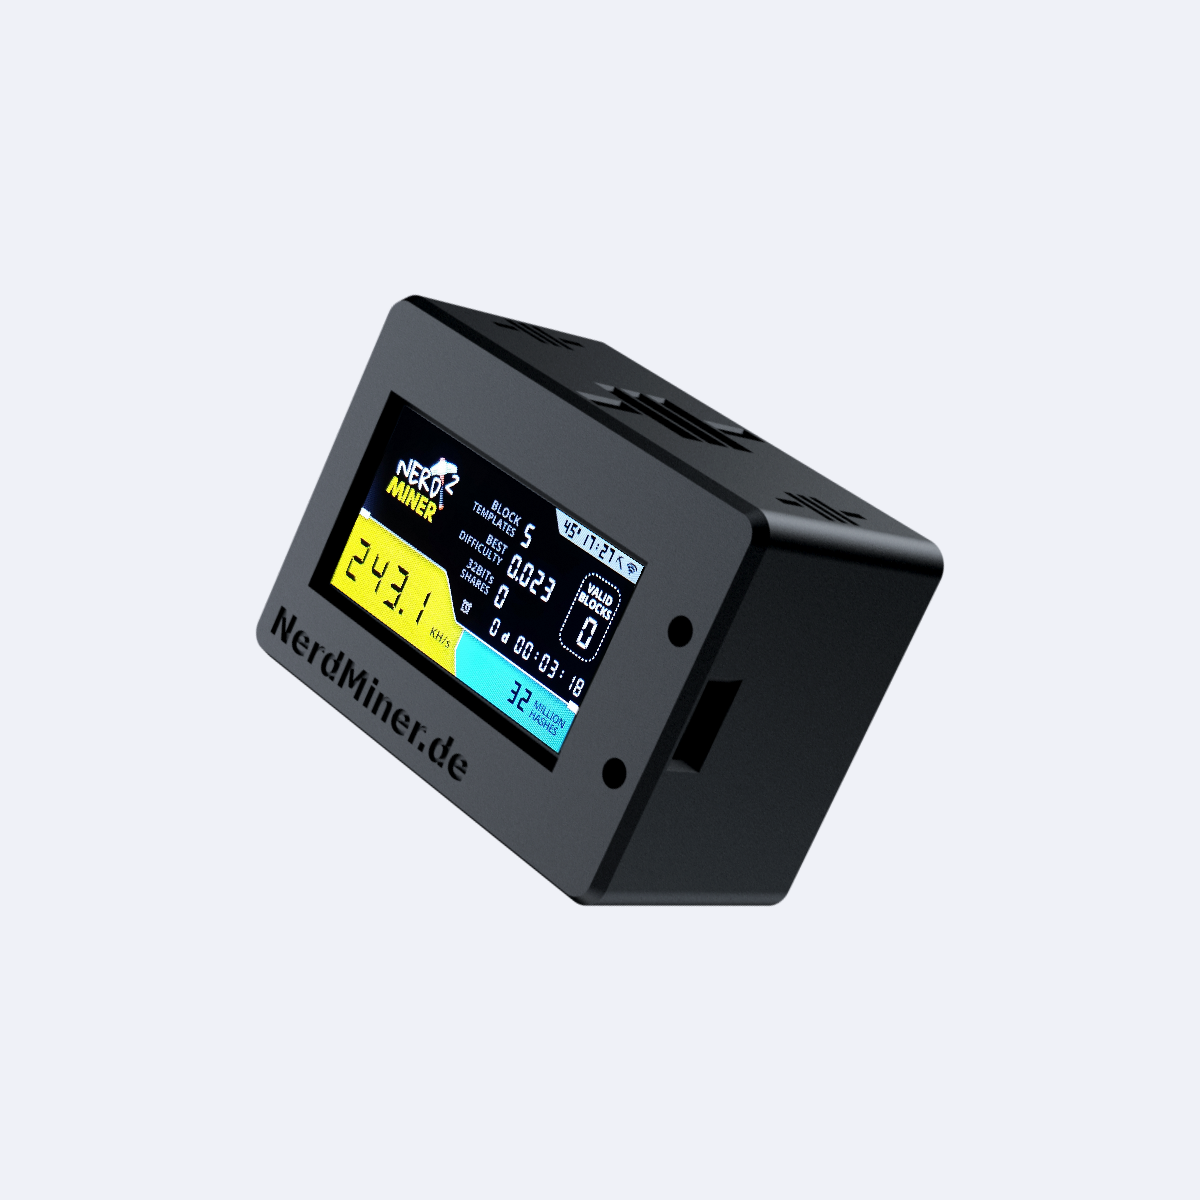
Functions/ key assignment
Press the bottom button to change the display selection.
If you prefer a regular pool where you mine Satoshis daily and automatically deposit them to
If you want to cash out your Lightning address, you can do so under the instructions “NerdAxe Satoshi Mining”
with an example of the Braiins pool.
A notice:
You can check whether your NerdAxe is connected to the pool using your BTC address on
Check https://web.public-pool.io/.
Have fun and success with your
NerdAxe!
Greetings Julius and Timo